Your Guide to Becoming a Certified Mechanic in Ontario

Understanding the Role of a Certified Mechanic

In Ontario, a certified mechanic plays a vital role in keeping vehicles safe and roadworthy. These professionals diagnose, repair, and maintain cars, trucks, and other vehicles according to industry standards and provincial regulations. Certification ensures that mechanics have the technical knowledge, hands-on skills, and legal credentials required to work in the automotive industry across the province.

The path to becoming a certified mechanic is structured through a combination of education, apprenticeship, and examination, governed by Skilled Trades Ontario, formerly known as the Ontario College of Trades. This process ensures consistency, professionalism, and safety within the trade.

Step 1: Meet the Basic Requirements

Before starting on the path toward certification, candidates must meet a few minimum requirements. These include:

  • Being at least 16 years of age
  • Having legal permission to work in Canada
  • Completing at least Grade 12 or the equivalent (recommended but not mandatory)

Though not strictly required, having strong math, communication, and mechanical reasoning skills is beneficial. Employers often prefer applicants with a high school diploma or some technical training.

Step 2: Choose the Right Trade Classification

The most common trade classification for an aspiring certified mechanic in Ontario is Automotive Service Technician (AST), which falls under the 310S trade code. There are other related trades such as Truck and Coach Technician (310T), Motorcycle Technician (310G), and Heavy Duty Equipment Technician (421A), depending on your interest and the type of vehicles you want to work on.

The 310S Automotive Service Technician is the standard trade for those working on cars and light trucks in Ontario.

Step 3: Find an Apprenticeship Sponsor

The next major step is finding an employer willing to sponsor you as an apprentice. In most cases, automotive shops, dealerships, and service centers are looking for enthusiastic entry-level workers or co-op students to train.

Once an employer agrees to take you on, both parties must register the apprenticeship agreement with Skilled Trades Ontario. This is a formal, legal agreement that outlines your responsibilities, training, and rights.

Step 4: Register as an Apprentice

After securing a sponsor, you must officially register as an apprentice through Skilled Trades Ontario and the Ministry of Labour, Immigration, Training and Skills Development (MLITSD). Upon registration, you will receive a training standard logbook and a schedule for your technical training.

Apprenticeship training consists of two components:

  1. On-the-job training: 6,000 hours of hands-on work experience
  2. In-school training: Approximately 720 hours over three levels (Basic, Intermediate, and Advanced)

In-school training is usually delivered by community colleges or other training institutions approved by the province. These sessions typically occur once a year for eight to ten weeks at a time.

Step 5: Complete the Apprenticeship Program

Over the course of your apprenticeship, you will develop skills in engine repair, electrical systems, fuel systems, brakes, steering and suspension, drive train systems, and diagnostics. You’ll also learn how to use diagnostic tools, software, and machinery common to modern repair shops.

Your progress will be tracked using the training standard logbook provided at the time of registration. Each skill or task must be signed off by your supervising journeyperson to confirm that you have demonstrated competency.

Apprenticeship programs usually take about four years to complete if pursued full-time. However, the duration can vary depending on your employer, the availability of in-school training, and how quickly you accumulate work hours.

Step 6: Write the Certificate of Qualification Exam

Once you complete your apprenticeship hours and in-school training, you will be eligible to write the Certificate of Qualification (C of Q) exam. This is a crucial step in becoming a certified mechanic in Ontario.

The exam tests your knowledge of:

  • Automotive mechanical systems
  • Safety procedures and regulations
  • Diagnostic methods and tools
  • Customer service principles

You can book the exam through Skilled Trades Ontario, and it is administered at various test centers across the province. A passing grade is 70% or higher.

Preparing thoroughly is essential. Many training institutions offer exam prep courses, and you can also review the Ontario Trades exam study guides to improve your chances of success.

Step 7: Obtain Your Certification and Red Seal Endorsement (Optional)

Upon passing the C of Q exam, you will be granted a Certificate of Qualification and officially recognized as a certified mechanic in the 310S Automotive Service Technician trade.

Additionally, you may qualify for the Red Seal endorsement, which allows you to work across other provinces and territories in Canada without needing to recertify. This is particularly beneficial if you’re considering relocation or working with national automotive chains.

To obtain the Red Seal, ensure you write the interprovincial version of the C of Q exam, which includes questions aligned with Red Seal standards.

Step 8: Maintain and Upgrade Your Skills

While certification does not currently require renewal in Ontario, continuing education is encouraged. The automotive industry is constantly evolving, especially with the rise of electric and hybrid vehicles, advanced safety systems, and computerized diagnostics.

Many certified mechanics pursue manufacturer-specific training, EV repair certification, or additional trade endorsements to enhance their employability and career prospects.

Additional Considerations

Co-op and Pre-Apprenticeship Programs

If you’re unsure about diving straight into an apprenticeship, many Ontario high schools and colleges offer co-op or pre-apprenticeship programs. These provide hands-on experience and can make you a more attractive candidate to potential sponsors.

Financial Support and Grants

Apprentices in Ontario may be eligible for various financial supports, including:

  • Apprenticeship Incentive Grants
  • Apprenticeship Completion Grants
  • Tools Grant
  • Canada Apprentice Loan

These programs help cover the costs of tuition, tools, travel, and living expenses during your training period.

Licensing and Insurance Requirements

In some cases, certified mechanics may choose to open their own business or work as mobile technicians. In these scenarios, additional business licenses, liability insurance, and municipal permits may be required depending on your location and the nature of your services.

Job Outlook and Career Paths

Certified mechanics in Ontario can work in a range of settings, including dealerships, independent garages, fleet maintenance companies, and government agencies. With experience, you can move into supervisory roles, shop management, or even teaching positions at colleges or trade schools.

There is also strong demand for mechanics who specialize in hybrid and electric vehicle service, diesel engines, and diagnostic technology. As vehicles become more advanced, specialization is expected to grow in importance.

Final Thoughts

Becoming a certified mechanic in Ontario is a structured yet flexible process that balances hands-on experience with classroom instruction. It requires commitment, attention to detail, and a willingness to keep learning. Whether you’re just starting out or looking to shift careers, the journey offers a solid foundation in a skilled trade with strong employment prospects and room for growth.
How to Repair a Punctured Tire the Right Way

What Causes a Tire to Become Punctured?

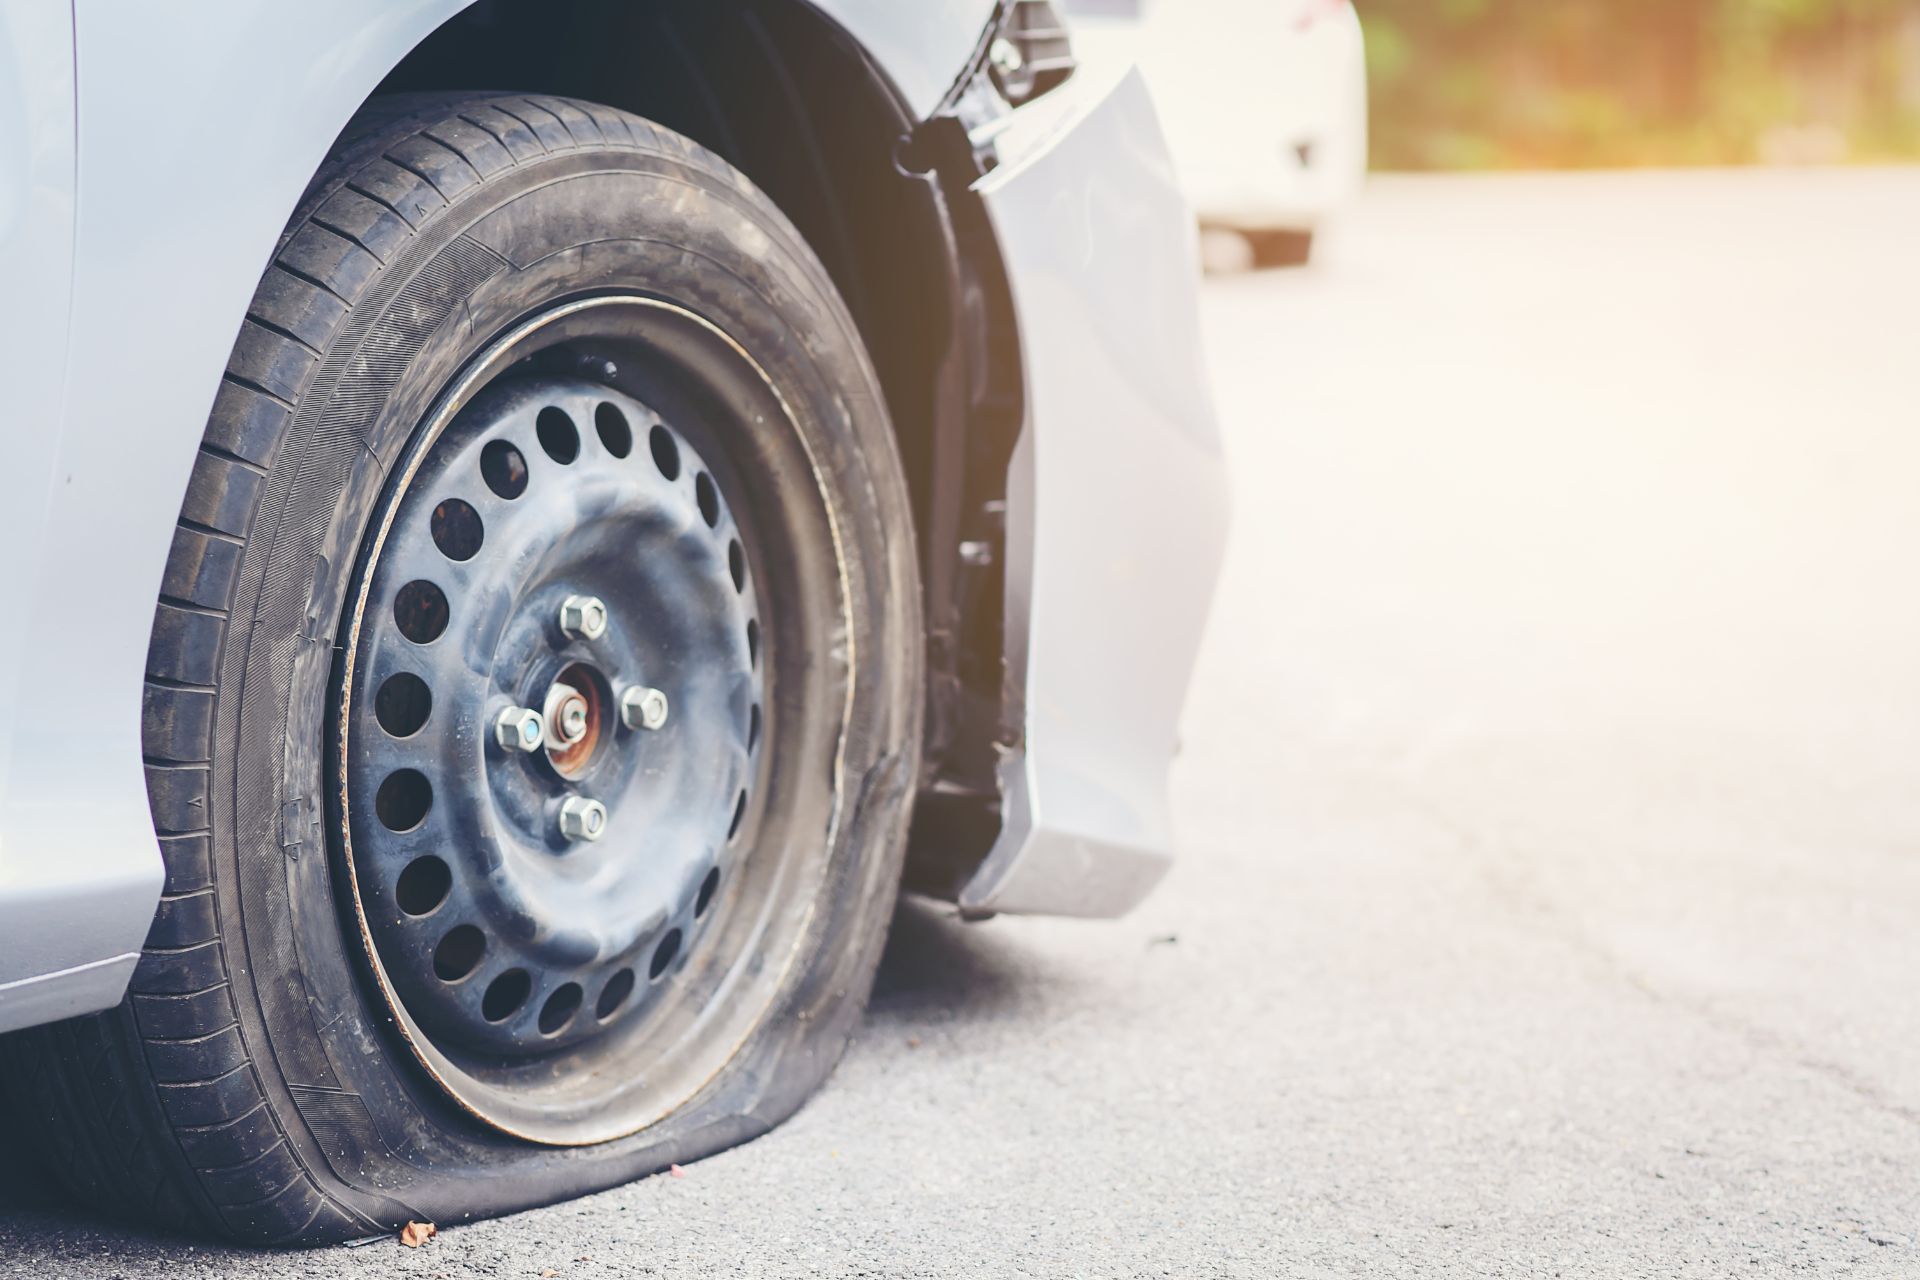
Tires can become punctured for a variety of reasons, most commonly due to sharp debris on the road like nails, screws, broken glass, or construction materials. While it’s frustrating, it’s also a very common problem faced by drivers. Understanding how and where the damage occurred can help you decide whether a repair is possible or if a full replacement is needed.

Most tire damage occurs in the tread area. A small puncture in this zone can often be repaired safely. However, if the damage is on the sidewall or shoulder, the tire is likely beyond repair. This is because those areas are critical to the structure and stability of the tire and cannot be safely patched.

Tools and Supplies You’ll Need

Before starting the repair process, make sure you have the proper tools. Having these essentials ready can save you both time and frustration, especially if the issue occurs while you’re on the road.

  • Car jack and lug wrench
  • Needle-nose pliers
  • Tire plug or patch kit
  • Rubber cement (often included with repair kits)
  • Air compressor or tire inflator
  • Tire pressure gauge
  • Soap and water in a spray bottle (for leak detection)

Step-by-Step Guide to Repairing a Punctured Tire

1. Find the Leak

The first step in fixing any punctured tire is to locate the source of the leak. If a nail or other object is embedded, you might see it right away. If the hole isn’t immediately visible, spray a mixture of soap and water over the tire and look for bubbles forming; this indicates the exact location of the air escaping.

It’s important to be certain that the leak is from a small puncture and not from other sources like a damaged valve stem or rim corrosion.

2. Remove the Tire from the Vehicle (Optional but Helpful)

If the hole is hard to reach, it may be easier to take the tire off the vehicle. Use a car jack to lift the vehicle safely, and remove the wheel with a lug wrench. Always do this on a flat, stable surface, and engage the parking brake to prevent movement.

Removing the tire gives you better control during the repair process and helps ensure a proper seal.

3. Extract the Object

Use pliers to pull out the item that caused the puncture. Be careful not to enlarge the hole as you remove the object. Once removed, you’ll notice the air escaping more rapidly. That’s normal and expected.

4. Prepare the Hole

Your repair kit will include a reaming tool. Insert it into the hole and twist it a few times to clean and widen the space just enough to insert the plug. This step ensures that the repair material will fit snugly and seal properly.

5. Plug the Hole

Take a plug from your kit and insert it into the insertion tool. Apply a bit of rubber cement to help it seal better and last longer. Push the plug firmly into the hole until only a small portion remains visible. Quickly pull the insertion tool straight out, leaving the plug in place.

Let the plug sit for a minute or two to set before moving on to reinflation.

6. Inflate and Check Pressure

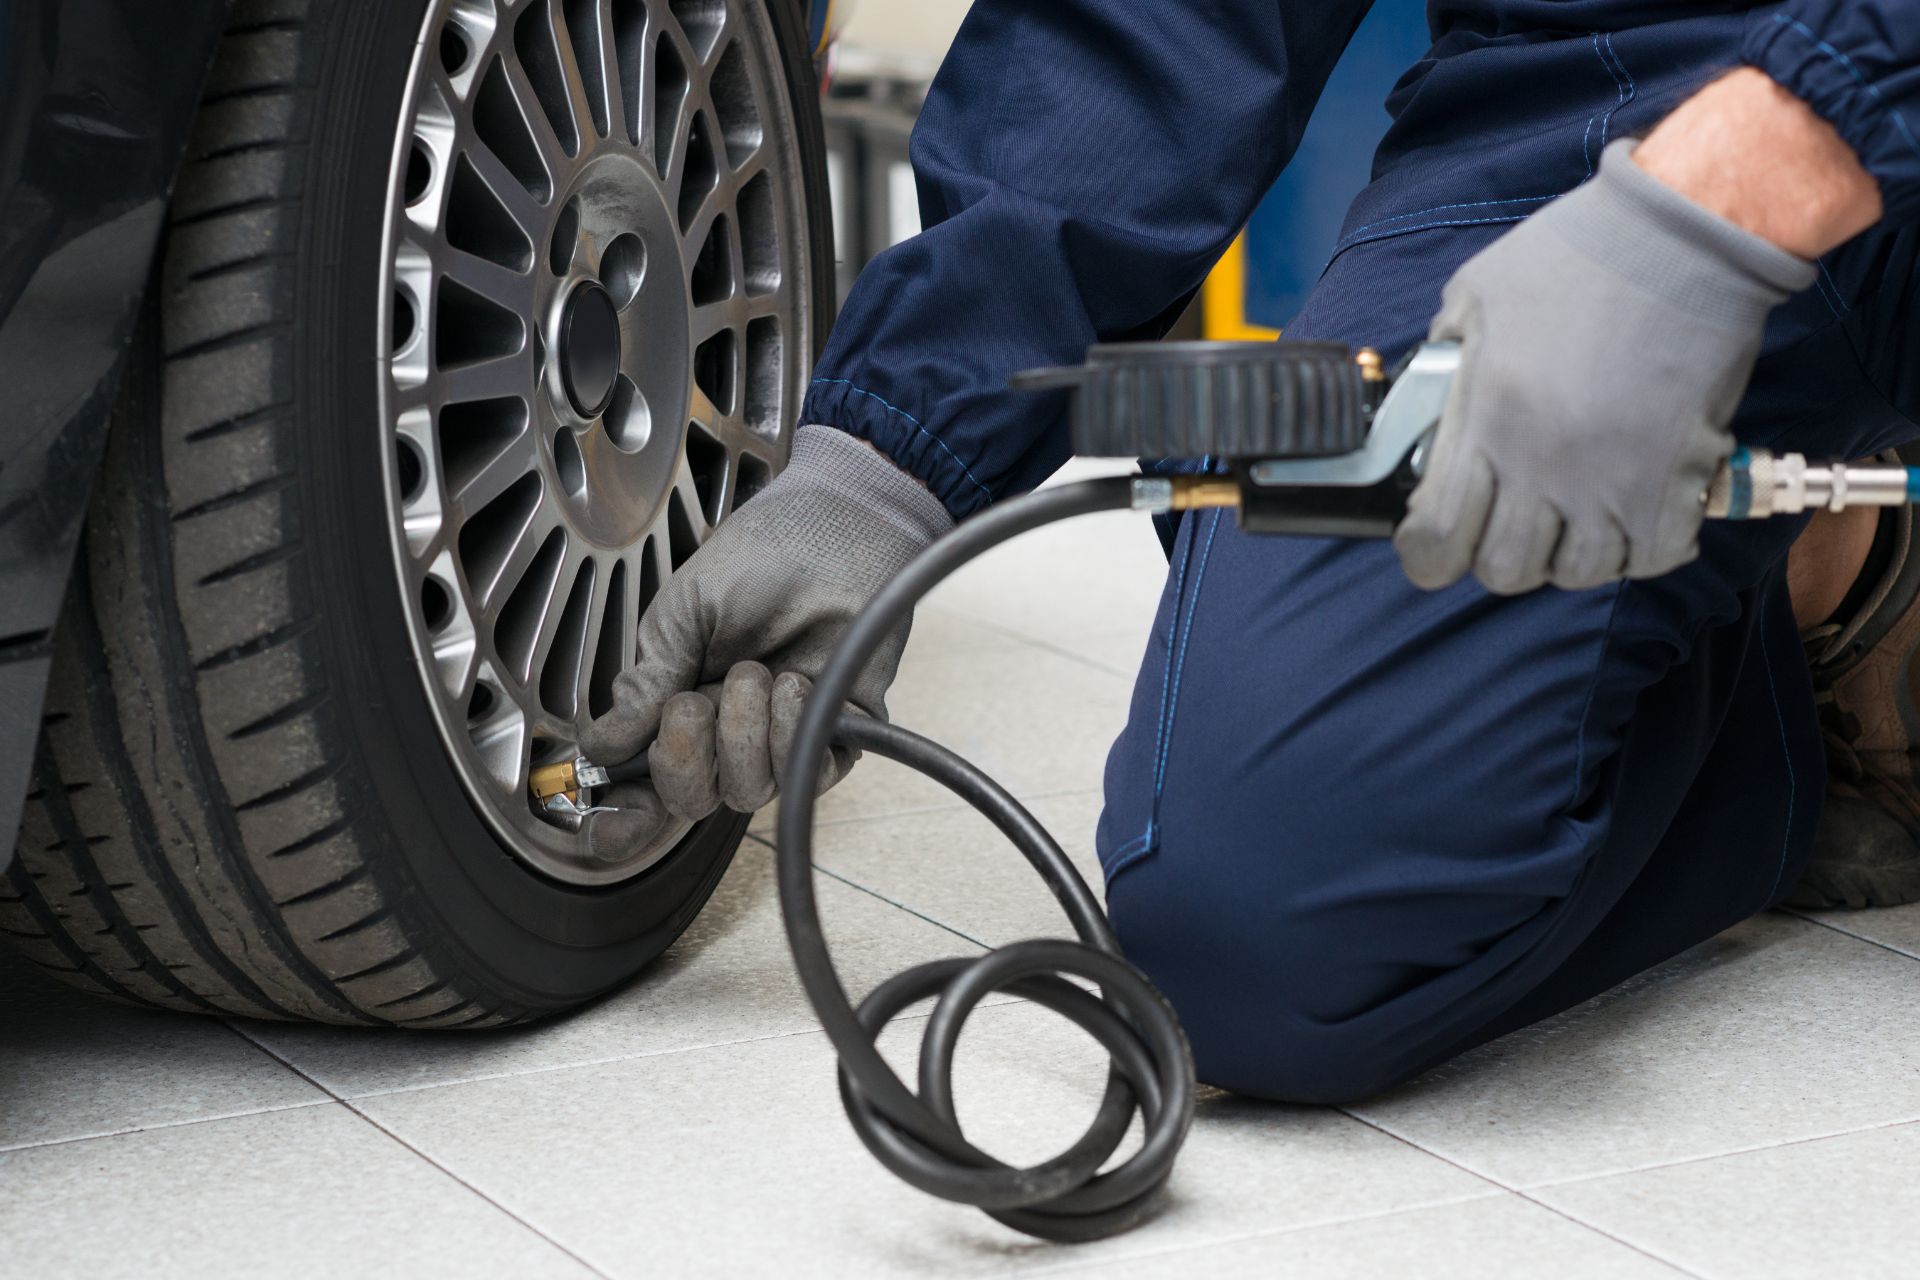
Use an air compressor or portable inflator to bring the tire back to its recommended pressure. Check the pressure with a gauge and adjust as needed. Then, spray more soap and water over the repair area to ensure no air bubbles are forming. If you don’t see bubbles, the seal is holding.

7. Reinstall the Tire and Test Drive

If you removed the tire, reinstall it using your lug wrench and lower the vehicle back to the ground. Tighten the lug nuts securely. Then take the car for a short test drive to make sure the repair holds and the vehicle handles properly.

When Not to Attempt a Repair

Not every punctured tire is safe to fix. If you encounter any of the following situations, it’s best to replace the tire:

  • The hole is on the sidewall or near the shoulder of the tread
  • The puncture is larger than 1/4 inch (6 mm) in diameter
  • Multiple holes are close together
  • The tire has already been repaired multiple times

In such cases, attempting to patch the tire could lead to a dangerous blowout while driving. Always prioritize safety over convenience.

Temporary Fixes vs. Permanent Solutions

It’s worth noting that some tire plug kits are designed only for temporary use. They’re meant to help you get to a repair shop, not to be a long-term solution. If you’ve used a quick-fix kit on a punctured tire, have it inspected by a professional as soon as possible.

Permanent repairs usually involve removing the tire from the rim, patching the inside, and resealing it. This type of fix is more durable and reliable over time.

Preventing Future Tire Damage

While not every flat tire can be avoided, you can reduce the risk by following a few precautions:

  • Regular Inspections: Check your tires weekly for visible signs of wear, embedded objects, or low pressure.
  • Keep Tires Properly Inflated: Underinflated tires are more likely to be damaged by road hazards.
  • Avoid Construction Zones: If possible, steer clear of roads under repair, as they’re more likely to have sharp debris.
  • Rotate Tires: Proper rotation helps ensure even wear and extends tire life.
  • Invest in Quality Tires: Better materials and construction can withstand more road impact and are less prone to minor punctures.

Don’t Ignore a Slow Leak

Even a small puncture can lead to bigger problems if left unchecked. Driving on an underinflated tire reduces fuel efficiency and increases the chance of a blowout. If you notice your tire is losing pressure gradually, it’s time to investigate and repair the issue promptly.

Final Thoughts

Fixing a punctured tire is a manageable task if the damage is minor and located in the right area. With the right tools and a bit of know-how, you can get back on the road safely. However, not all damage should be repaired at home. For your safety and the health of your tires, it’s always a good idea to have a professional examine the repair or do the work when in doubt.

If you’re dealing with a punctured tire and want expert help, TrilliTires is here for you. We proudly serve Richmond Hill, Markham, Vaughan, and the rest of the GTA with reliable tire repair and replacement services. Drive with confidence. Contact us today.

Understanding TPMS and How It Keeps You Safe on the Road

The Tire Pressure Monitoring System, or TPMS, is a vital safety feature in modern vehicles. Though many drivers are familiar with the dashboard warning light that looks like a horseshoe with an exclamation point, few understand how the system actually works. In this article, we’ll break down what TPMS is, how it functions, the different types available, and why it plays such an important role in maintaining your vehicle’s performance and safety.

What Is TPMS?

TPMS stands for Tire Pressure Monitoring System. Its primary job is to alert drivers when one or more tires are significantly underinflated. This warning is crucial because improper inflation can reduce fuel efficiency, lead to uneven tire wear, and create hazardous driving conditions.

The system is now mandatory in most new vehicles sold in North America. In fact, following the TREAD Act (Transportation Recall Enhancement, Accountability, and Documentation), all new cars sold in the United States since 2008 have been required to include TPMS. Canada followed suit, and most vehicles on the road today are equipped with some form of this technology.

How TPMS Works

TPMS uses sensors to track the air level in your tires. When the pressure drops below a certain threshold, typically 25% below the manufacturer’s recommended level, the system activates a warning light on the dashboard. The goal is to prompt the driver to check and adjust the inflation before any serious issues arise.

Depending on the type of TPMS installed, the system may also display the exact pressure in each tire on your vehicle’s infotainment screen, allowing for more precise monitoring and quicker correction.

Types of TPMS

There are two main types of Tire Pressure Monitoring Systems: direct and indirect. Each uses a different method to monitor the inflation levels and comes with its own advantages and limitations.

Direct TPMS

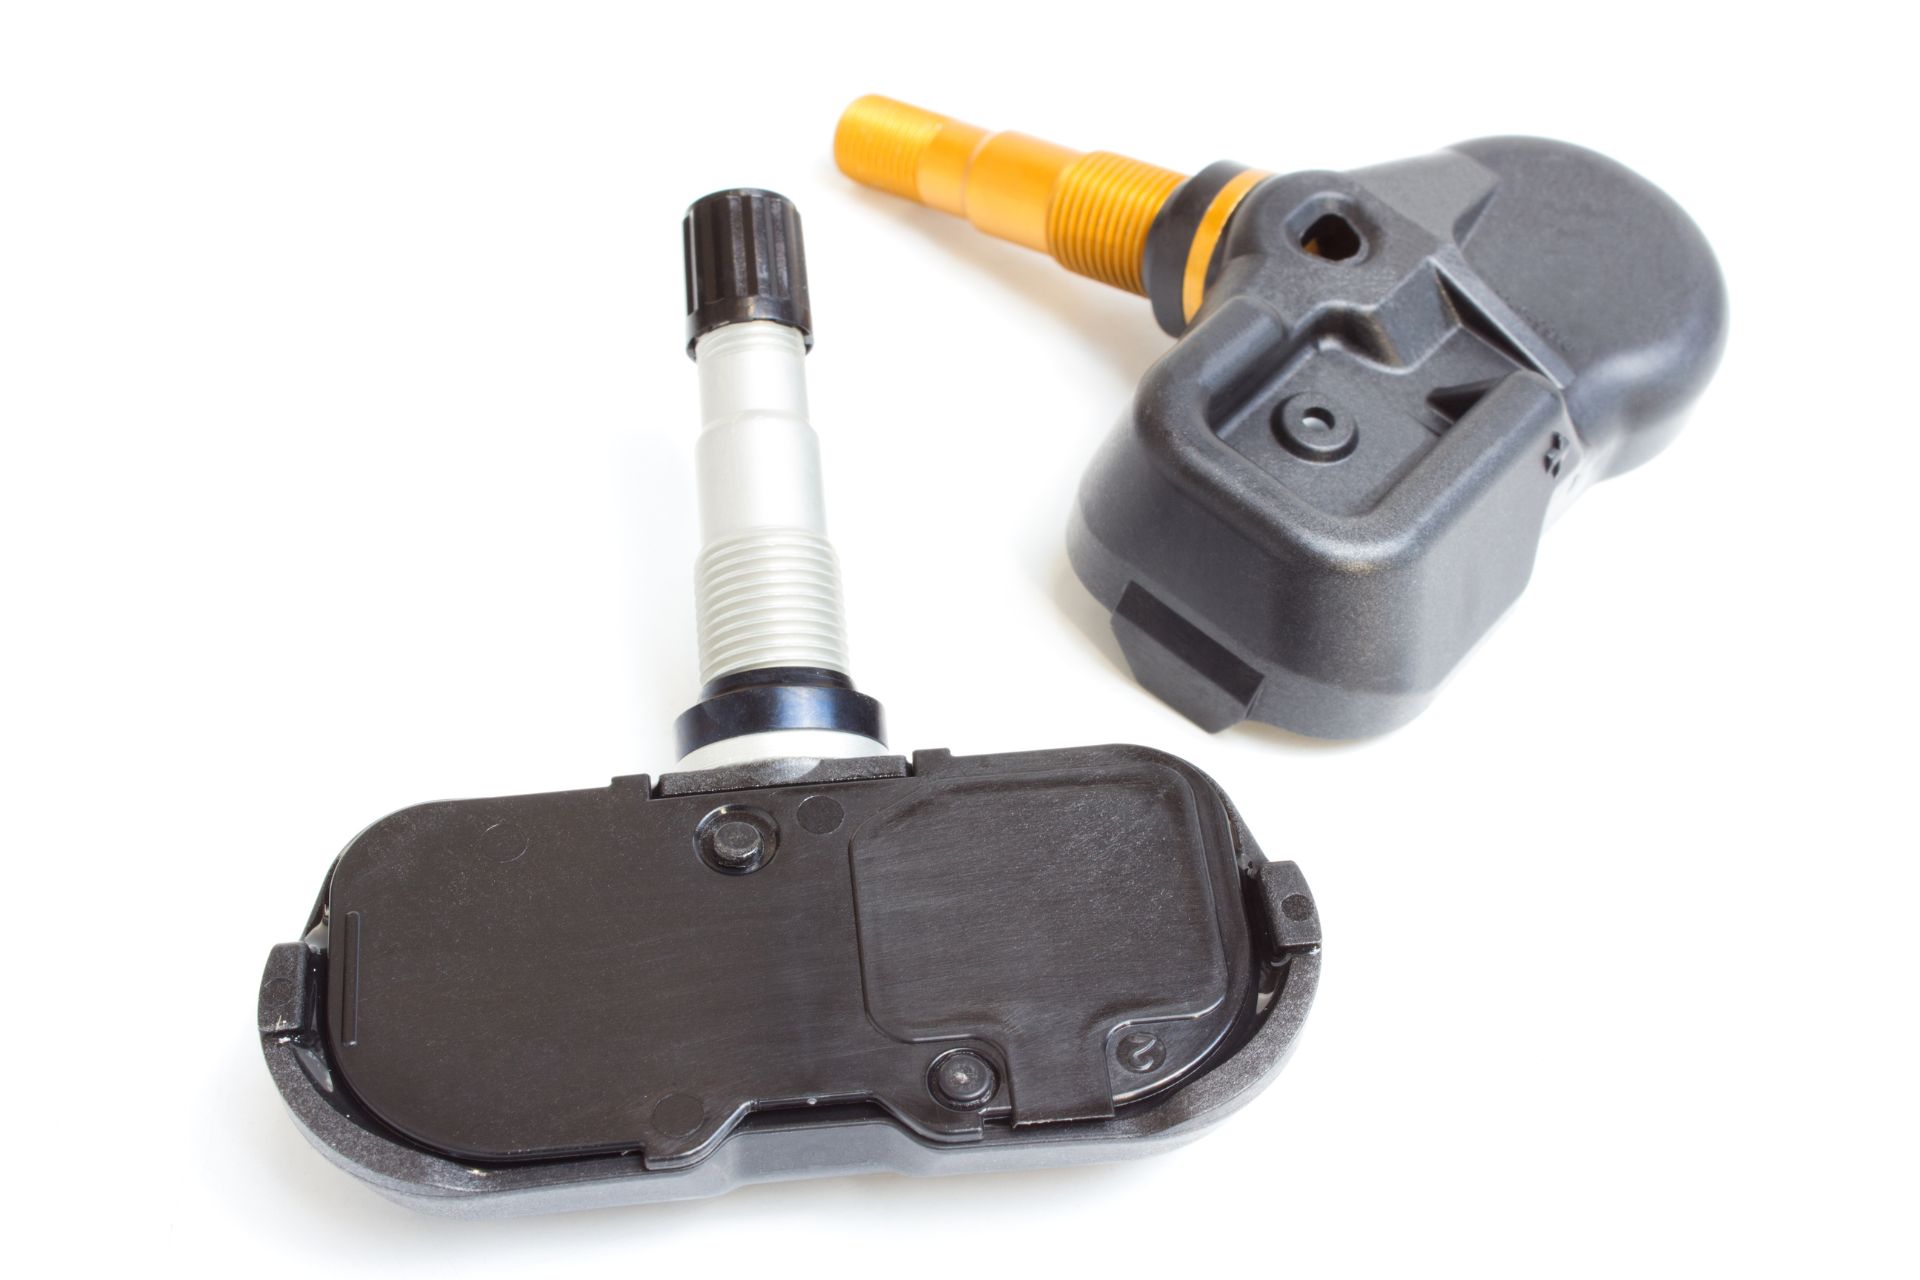
This version uses individual pressure sensors mounted inside each tire, usually on the valve stem or within the wheel assembly. These sensors directly measure the internal air level and send real-time data to the vehicle’s computer.

Direct systems are highly accurate and can detect even slight drops in pressure. They typically show the exact PSI (pounds per square inch) for each tire on the dashboard. However, the sensors require batteries and may need to be replaced every 5 to 10 years. They’re also more expensive to repair or replace if damaged.

Indirect TPMS

Rather than using physical sensors, indirect systems work by analyzing data from the vehicle’s ABS (anti-lock braking system) wheel speed sensors. When a tire has less air, it becomes smaller in diameter and rotates faster than a fully inflated tire. The system detects this irregular rotation and triggers a warning.

Indirect TPMS is generally less costly and requires less maintenance, but it’s also less precise. It may not show the actual PSI levels and can be thrown off by uneven tire wear or tire rotations, sometimes requiring recalibration.

Benefits of TPMS

TPMS plays a major role in improving road safety and vehicle efficiency. Here are some of the key benefits:

  • Early Detection of Problems: The system gives you an early warning if a tire starts losing air, allowing you to take action before it becomes a serious issue.
  • Improved Fuel Economy: Proper inflation reduces rolling resistance, improving fuel efficiency and saving you money at the pump.
  • Longer Tire Life: By alerting you to low levels, TPMS helps prevent uneven wear, which can extend the life of your tires.
  • Better Handling and Braking: Fully inflated tires perform better in terms of traction and response, especially during emergency braking or sharp turns.
  • Environmental Impact: Maintaining optimal inflation helps reduce carbon emissions by improving fuel usage and reducing the number of tires that end up in landfills prematurely.

Common Causes of Inflation Loss

Even with a working TPMS, understanding why air levels drop can help you stay ahead of problems. Here are some typical causes:

  • Temperature Changes: Colder weather causes air to contract, lowering the pressure. Conversely, heat can increase it temporarily.
  • Punctures or Leaks: Nails, sharp debris, or even worn valve stems can cause slow leaks.
  • Aging Tires: Over time, rubber naturally allows some air to seep out, even without visible damage.
  • Poor Seal Between Tire and Rim: Corrosion or damage on the wheel can compromise the seal, especially after hitting a pothole or curb.

Checking your inflation regularly, especially during seasonal changes or long trips, is a good habit, even if your TPMS hasn’t triggered a warning yet.

What to Do When the TPMS Light Comes On

If the warning light comes on while you’re driving, the first step is to remain calm and find a safe place to pull over. Once stopped, inspect all four tires for visible signs of deflation or damage. If none are obvious, use a gauge to check the PSI and compare it to the manufacturer’s recommendation (usually found on a sticker inside the driver’s side door).

If one or more tires are underinflated, refill them as soon as possible. Some systems may require you to reset the TPMS manually, while others will reset automatically once the proper levels are restored.

If the light stays on even after adjusting, it could indicate a malfunction in the sensor or system, in which case a visit to a professional tire shop is recommended.

TPMS Maintenance and Sensor Lifespan

Like any other vehicle system, TPMS needs occasional maintenance. Sensors typically last between 5 and 10 years, depending on the quality and usage. Since they run on batteries, a failing sensor may stop transmitting data altogether.

Regular tire rotations, alignments, and installations can also impact the system’s accuracy. If your vehicle has indirect TPMS, it may require recalibration after such services. Be sure to let your technician know about your system type when having tire work done.

Also, during winter tire changes, be cautious. If your winter set doesn’t have sensors, your TPMS will remain inactive, and you’ll lose real-time monitoring until you switch back.

Myths About TPMS

A few misconceptions continue to circulate about this technology:

  • Myth 1: If the TPMS light isn’t on, everything is fine.
    Truth: The system alerts only when levels drop significantly, not when they’re slightly below optimal.
  • Myth 2: You can ignore the light for a few days.
    Truth: Driving with underinflated tires for even a short time can cause uneven wear and poor fuel efficiency.
  • Myth 3: TPMS replaces the need for manual checks.
    Truth: It’s a helpful tool, but not a substitute for regular inspection with a gauge.

Final Thoughts

TPMS is a sophisticated system that plays a key role in your vehicle’s overall safety and efficiency. It’s not just a warning light; it’s an essential component that helps you detect problems early, improve fuel economy, and ensure a smoother, safer ride. Knowing how it works, understanding the different types, and keeping up with routine maintenance can make a big difference in both your driving experience and long-term vehicle care.

For expert auto repair service, inflation checks, and all your tire needs, contact TrilliTires, proudly serving Richmond Hill, Markham, Vaughan, and the rest of the GTA.

How Tire Pressure Affects Your Fuel Efficiency and Safety

Understanding the role of tire pressure in your vehicle’s performance can help you save money on fuel and avoid potential safety hazards. While it may seem like a minor aspect of car maintenance, maintaining proper inflation is crucial for efficient fuel use, optimal handling, and long-term vehicle health. Let’s explore how this often-overlooked factor impacts your driving experience.

Why Proper Inflation Matters

Your tires are the only point of contact between your vehicle and the road. The air inside them supports the weight of your car and allows it to move, stop, and turn effectively. When tires are not inflated to the manufacturer’s recommended level, their shape, structure, and performance are affected. This can result in uneven wear, reduced fuel efficiency, and compromised safety.

Improper inflation, whether too low or too high, can interfere with how your vehicle responds to braking, turning, and acceleration. It also increases wear and tear on your suspension system and other key components, leading to costly repairs over time.

The Connection Between Inflation and Fuel Economy

Fuel efficiency is a top concern for most drivers, especially with rising gas prices. Underinflated tires create more rolling resistance, meaning your engine has to work harder to move the vehicle forward. This extra effort leads to higher fuel consumption. According to the U.S. Department of Energy, for every 1 PSI (pound per square inch) drop in pressure across all four tires, gas mileage can decrease by about 0.2%. Over time, this adds up.

Conversely, keeping your tires properly inflated reduces resistance and allows your car to roll smoothly. This not only improves fuel economy but also puts less strain on your engine. For commuters and delivery drivers who cover long distances regularly, the savings can be significant.

Safety Risks of Incorrect Inflation

Beyond fuel economy, safety is another critical concern. Driving with underinflated tires increases the risk of blowouts, especially at high speeds or during hot weather conditions. A tire that doesn’t have enough pressure flexes more and can overheat, which may cause it to fail without warning.

Overinflated tires, on the other hand, have reduced surface contact with the road. This leads to less traction and makes it more difficult to control your vehicle, particularly on wet or slippery surfaces. Stopping distances may increase, and the likelihood of hydroplaning grows.

Maintaining the correct inflation level ensures even distribution of weight, better grip on the road, and improved response in emergency maneuvers. It’s a key factor in keeping you, your passengers, and other drivers safe.

How Temperature Affects Tire Pressure

Tire inflation isn’t a “set it and forget it” task. External factors like weather and road conditions can cause significant fluctuations. In colder climates, air contracts and causes pressure to drop. You might notice a warning light on your dashboard during winter mornings, even if your tires were fine the day before.

In warmer temperatures, the opposite occurs. Air expands and increases internal pressure. That’s why it’s important to check your tires regularly, especially when seasons change or during long road trips.

Experts recommend checking your inflation levels at least once a month and before extended drives. Always use a reliable pressure gauge and consult your vehicle’s manual or the sticker located on the driver’s side door jamb for the manufacturer’s recommended PSI.

Impact on Tire Lifespan

Improper inflation doesn’t just affect performance and safety; it also shortens the lifespan of your tires. Underinflation causes the edges of the tread to wear out faster, while overinflation wears down the center. In either case, uneven wear can lead to premature replacement.

Tires are a significant investment, and extending their life should be a priority. Maintaining proper pressure levels ensures that they wear evenly, giving you better value and performance over time. In addition to regular checks, rotating your tires and having them aligned helps preserve tread life.

The Role of TPMS (Tire Pressure Monitoring System)

Most modern vehicles come equipped with a Tire Pressure Monitoring System (TPMS), which alerts drivers when inflation levels drop below safe thresholds. While helpful, this system is not foolproof. TPMS usually activates only when pressure is significantly low, well below the optimal range. This means you could still be driving with suboptimal levels that negatively impact fuel efficiency and performance without any warning.

That’s why manual checks are still necessary. Consider TPMS a backup, not a replacement, for routine monitoring.

How to Maintain Proper Inflation

Keeping your tires at the right level doesn’t require advanced knowledge or expensive equipment. Follow these simple tips:

  • Check Monthly: Use a digital or manual pressure gauge to measure all four tires once a month.
  • Check When Cold: Do this when your vehicle has been parked for several hours to get an accurate reading.
  • Follow Manufacturer Guidelines: Refer to your car’s manual or the label inside the door frame for PSI recommendations.
  • Adjust After Driving Loads: If you’re hauling heavy cargo or going on a road trip, your pressure needs may differ.
  • Inspect for Damage: While checking, look for cuts, bulges, or nails that may indicate a leak or need for repair.

By making this part of your regular routine, you can enhance your driving experience and avoid unnecessary problems.

Misconceptions About Tire Pressure

One common myth is that the PSI printed on the tire sidewall is the correct level to inflate to. In fact, this number represents the maximum pressure the tire can safely hold, not the recommended operating level. Always refer to your car manufacturer’s guidelines.

Another misconception is that visually inspecting a tire is enough. Unfortunately, even severely underinflated tires may look normal. That’s why using a gauge is the only reliable way to know for sure.

The Cost of Ignoring Inflation

Ignoring proper tire care can lead to more than just higher gas bills. Poor inflation contributes to roughly 11,000 tire-related crashes annually in the United States alone. Add to that the financial burden of needing new tires earlier than expected and potential suspension damage, and the costs become even more alarming.

For fleet owners and businesses that rely on vehicles, the combined expense of excess fuel consumption and shortened tire life can significantly affect the bottom line. For everyday drivers, it’s an unnecessary drain on resources that can be easily avoided.

Final Thoughts

Your vehicle’s performance, fuel economy, and safety all depend on something as simple as keeping your tires properly inflated. While often overlooked, this basic maintenance step has far-reaching benefits. It helps your car run more efficiently, protects your investment in tires and fuel, and, most importantly, keeps you safe on the road.

Regular checks, staying informed about seasonal changes, and understanding your vehicle’s needs go a long way in ensuring a smoother, more cost-effective driving experience.

Looking for expert tire care and advice? TrilliTires proudly serves Richmond Hill, Markham, Vaughan, and the rest of the GTA with top-quality tire services to keep your vehicle running at its best. Contact us today!